Thursday, January 19, 2012
Bent Rims
My two front rims... They are bent...
I received a brand new set of 4 today. $200 with shipping! Not a bad deal at all! They will still need to be painted, but at least can be thrown on once that is accomplished.
Furthermore, before that actually happens, I believe what has caused the bent rims is the Tie Rods. Mind you, I have not taken the car over ANY sort of bumps, or potholes.
I received a brand new set of 4 today. $200 with shipping! Not a bad deal at all! They will still need to be painted, but at least can be thrown on once that is accomplished.
Furthermore, before that actually happens, I believe what has caused the bent rims is the Tie Rods. Mind you, I have not taken the car over ANY sort of bumps, or potholes.
New Alternator
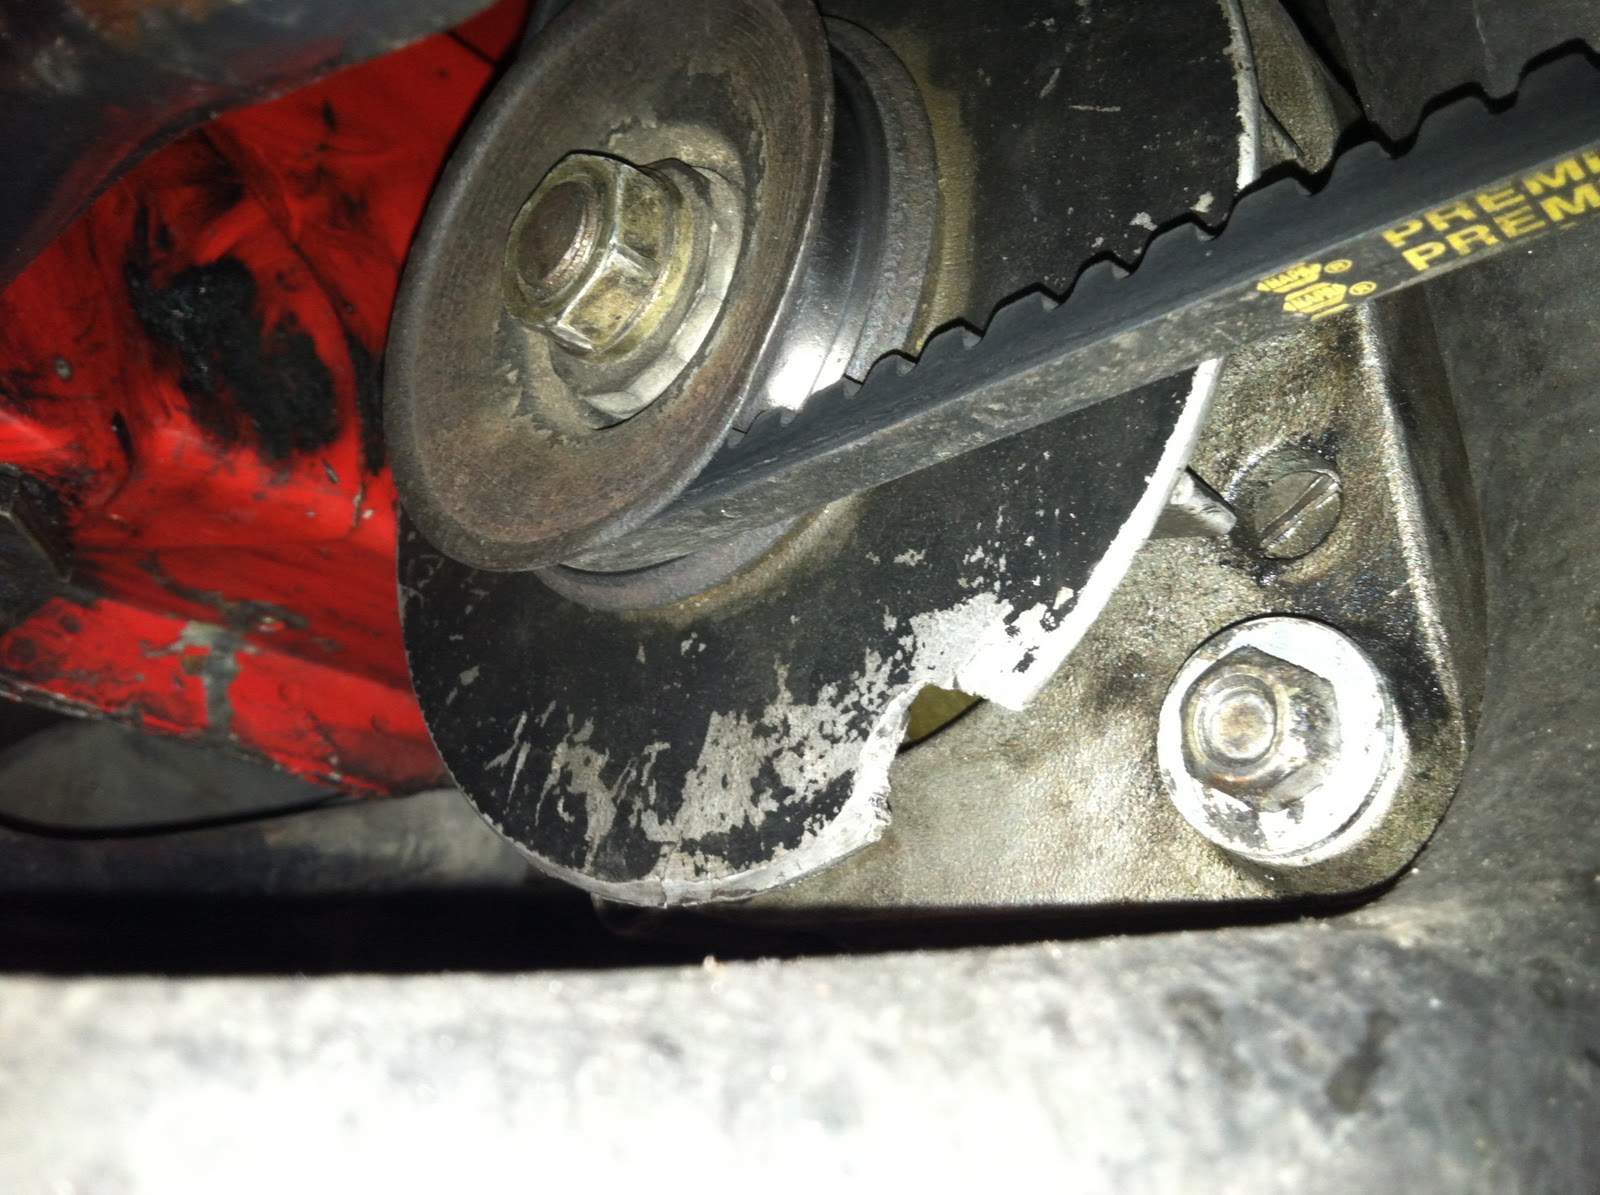
The Alternator has not been working correctly for some time, but only recently did I actually find that it was the alternator causing my problems, which I thought were battery related.
I hadn't even replaced the alternator since I bought the 924 back in 2008, and who knows how good it even was back then, either!?
Old Alternator Removed
I hadn't even replaced the alternator since I bought the 924 back in 2008, and who knows how good it even was back then, either!?
Old Alternator Removed
New Fuel Accumulator
A couple months ago I had actually replaced the Fuel Accumulator with this. After putting the new Accumulator on, I never did end up driving the vehicle. When I finally did, I returned home to notice gas leakeage present on the garage floor. My first time installing the new Accumulator, I must not have tightened one of the nuts tight enough, and gas was leaking.
Problem Fixed!
Problem Fixed!
New Axle Boot
Passengers Side Rear Axle Boot has been torn for quite some time, and I haven't had the necessary leverage to get a stripped bolt off, from the ground. Now that I have a shop to work on it, the new boot is now in place!
Automotive Technology Year 1
I started Automotive Technology at my Community College in September, and am currently proceeding through the class.
Friday, December 2, 2011
Snailshell Transmission Part I
It has been a good while since I posted anything, and I have not really had much time to even work on the Porsches as of late. I recently started my Automotive Technology class at my college in September, and took an opportune time, and brought in my Snailshell to disassemble and inspect, before I throw it in.
Pictures, WITH instructions, and even instructions included on the pictures themselves, will be released soon!
Tuesday, September 20, 2011
Coolant Bleeder Valve
Previous owner or a shop for some reason placed a coolant hose leading to the Thermostat Housing, WITHOUT a Bleeder Valve. I got a new hose ordered and placed, and created a homemade cap with a positive battery terminal cover and some Apoxie Sculpt.
Thursday, August 25, 2011
Coolant Hoses Issue
I took most of the mail Coolant Hoses apart. The metal piece had a lot of interior rust. Isn't really going to cause any damage, but yuck! The rest of the hoses seem to be in very condition still, and I'm not noticing any cracking. Unfortunatly the Hose that goes from the Thermostat Valve is the wrong hose!
Previous owner must of made this mistake. The real hose is meant to have a valve opening at the top with a cap. This is for bleeding the coolant, and checking for bubbles. I also removed the Coolant Reservoir, and cleaned that out.
Tie Rod, Cylinder, Oil Pump
Did some good inspection yesterday to notice a bent Tie Rod, a little oil drip from the Oil Pump. More than likely the Seal is worn and needs replaced. The Drivers side Rear Wheel Cylinder that was just replaced not too long ago appears to be leaking again, however I will not know for sure until I finalize this.
Valve Cover Gasket
Replaced the Gasket which split after removing the Valve Cover. It looks like the previous owner put some sort of rubber glue in place of the half circle gaskets. New Gaskets are now in though, and oil is staying firm inside, with no more spills.
Fuel Accumulator
Finally got around to switching out the Fuel Accumulator last week. Pretty simple task. Took about 45 minutes at most.
Monday, July 25, 2011
Major Update
Got the Alternator Mount Bushings into the top Alternator Bracket. I was able to install some windshield wiper bushings as the replacements, after taking the metal plating from the inside of them. Bought some smaller washers to go infront, and behind them for extra support.
Bottom Bracket went on great with the new rubber bushings. I also got some 3-way T-Crosses for the two loose Vacuum Hoses, and for connecting to the loose slot in the Vacuum Amplifier.
I also cleaned up as much oil as possible from the Throttle Housing, Intake Boots, Mixture Control Plate, and the Air Filter Housing. I replaced the Intake Boots, and lower Radiator Hose.
I am now left with installing the new Battery, and putting in the new Air Filter to the Housing. After that she should fire up good. Let her heat up a bit, and then drain the oil and add the new Amsoil I recently got from online.
If all works well from here, I can back the car out, and put the rear wheels up on the Car Ramps, and replace the Fuel Accumulator, which should solve the issue of it not starting up, after shutting off after a hot run.
Bottom Bracket went on great with the new rubber bushings. I also got some 3-way T-Crosses for the two loose Vacuum Hoses, and for connecting to the loose slot in the Vacuum Amplifier.
I also cleaned up as much oil as possible from the Throttle Housing, Intake Boots, Mixture Control Plate, and the Air Filter Housing. I replaced the Intake Boots, and lower Radiator Hose.
I am now left with installing the new Battery, and putting in the new Air Filter to the Housing. After that she should fire up good. Let her heat up a bit, and then drain the oil and add the new Amsoil I recently got from online.
If all works well from here, I can back the car out, and put the rear wheels up on the Car Ramps, and replace the Fuel Accumulator, which should solve the issue of it not starting up, after shutting off after a hot run.
Wednesday, April 6, 2011
Filter Off
Around last week, I finally ended up getting the Oil Filter off. Tons of screwdriver stabs later, it finally turned and came loose, and I was able to get it off. Now, to get to the last 2 Alternator Bolts.
Thursday, March 10, 2011
Update
Well as of now I am trying to get the Oil Filter off so that I can get the Alternator off, to replace the Bushings and Bracket Mounts.
While the Oil Filter and Alternator are out, I need to get to the Starter, and disconnect the Positive Battery Cable, and replace it, then throw in a new Battery.
I then need to install the new Fuel Accumulator, and install the new Horn Relay, and Horn itself and get it connected.
While the Oil Filter and Alternator are out, I need to get to the Starter, and disconnect the Positive Battery Cable, and replace it, then throw in a new Battery.
I then need to install the new Fuel Accumulator, and install the new Horn Relay, and Horn itself and get it connected.
Tuesday, December 7, 2010
Picked Up a Snailshell !
With hardly any of these left in the world, I was able to find one for sale, not an hour and a half from my location. Looks very great!
Muffler Re-Welded
Got the Muffler Re-welded. Should hold until I get a hold of parts to keep her on there for a good long time.
Tuesday, November 23, 2010
New Muffler Parts needed
Looks like it's time for some underbody work. The Muffler recently snapped from a Support bracket on the way to work. Thankfully it snapped right when I got to work, and I noticed it after I had parked.
Later that night I went out in the icy weather and took two bungie cords I had tied around the Spare Tire in the Well, and wrapped them around the Muffler to get me home. Those things burnt up faster than I had expected! Haha.
Upon further inspection I came to notice that not only is the Support Bracket that snapped going to need replaced, but almost all of the Muffler Support Parts are in the same condition, and need I say more, should also be replaced. Looks as though the Muffler should be replaced as well.
Updates soon.
Later that night I went out in the icy weather and took two bungie cords I had tied around the Spare Tire in the Well, and wrapped them around the Muffler to get me home. Those things burnt up faster than I had expected! Haha.
Upon further inspection I came to notice that not only is the Support Bracket that snapped going to need replaced, but almost all of the Muffler Support Parts are in the same condition, and need I say more, should also be replaced. Looks as though the Muffler should be replaced as well.
Updates soon.
Subscribe to:
Posts (Atom)